
Uploading photos for a client
Add photos you already have to a client's Gallery. You can upload several at once, then open or download them from the client's profile.
Read video transcript
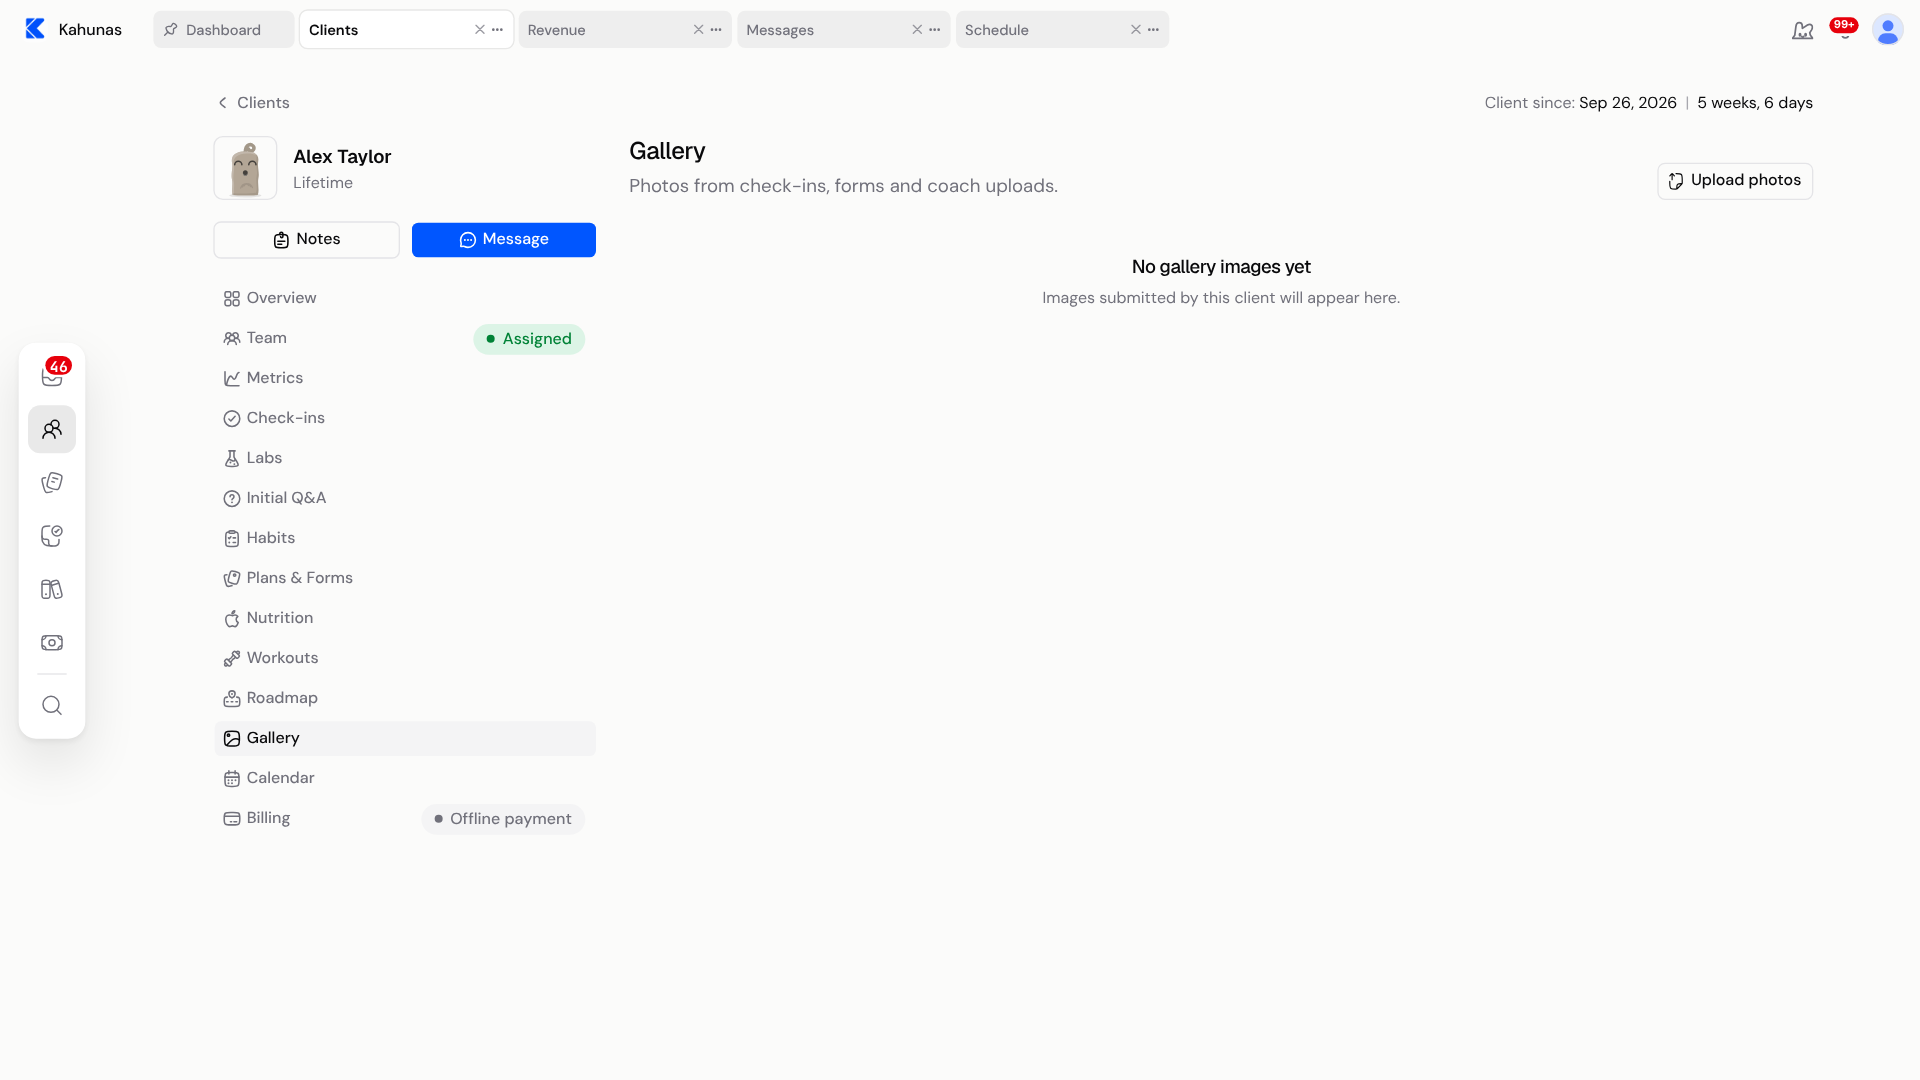
To add photos for a client, open their profile and choose Gallery. Select Upload photos, then choose the images you need. You can select several at once. Wait for your photos to appear in the dated group. Use Gallery for photos. Add check-in records numbers and notes, but has no photo attachment.
Upload photos
- Open People → Clients and choose the client.
- Select Gallery in the client's profile menu.
- Select Upload photos and choose the images from your device. You can select more than one image.
- Keep the page open while the files upload. Look for Photo added to gallery, then check that your photos appear in the dated group.
Use JPG, PNG, WebP or GIF images, up to 25 MiB per file. If your phone uses HEIC, export a JPG copy first.
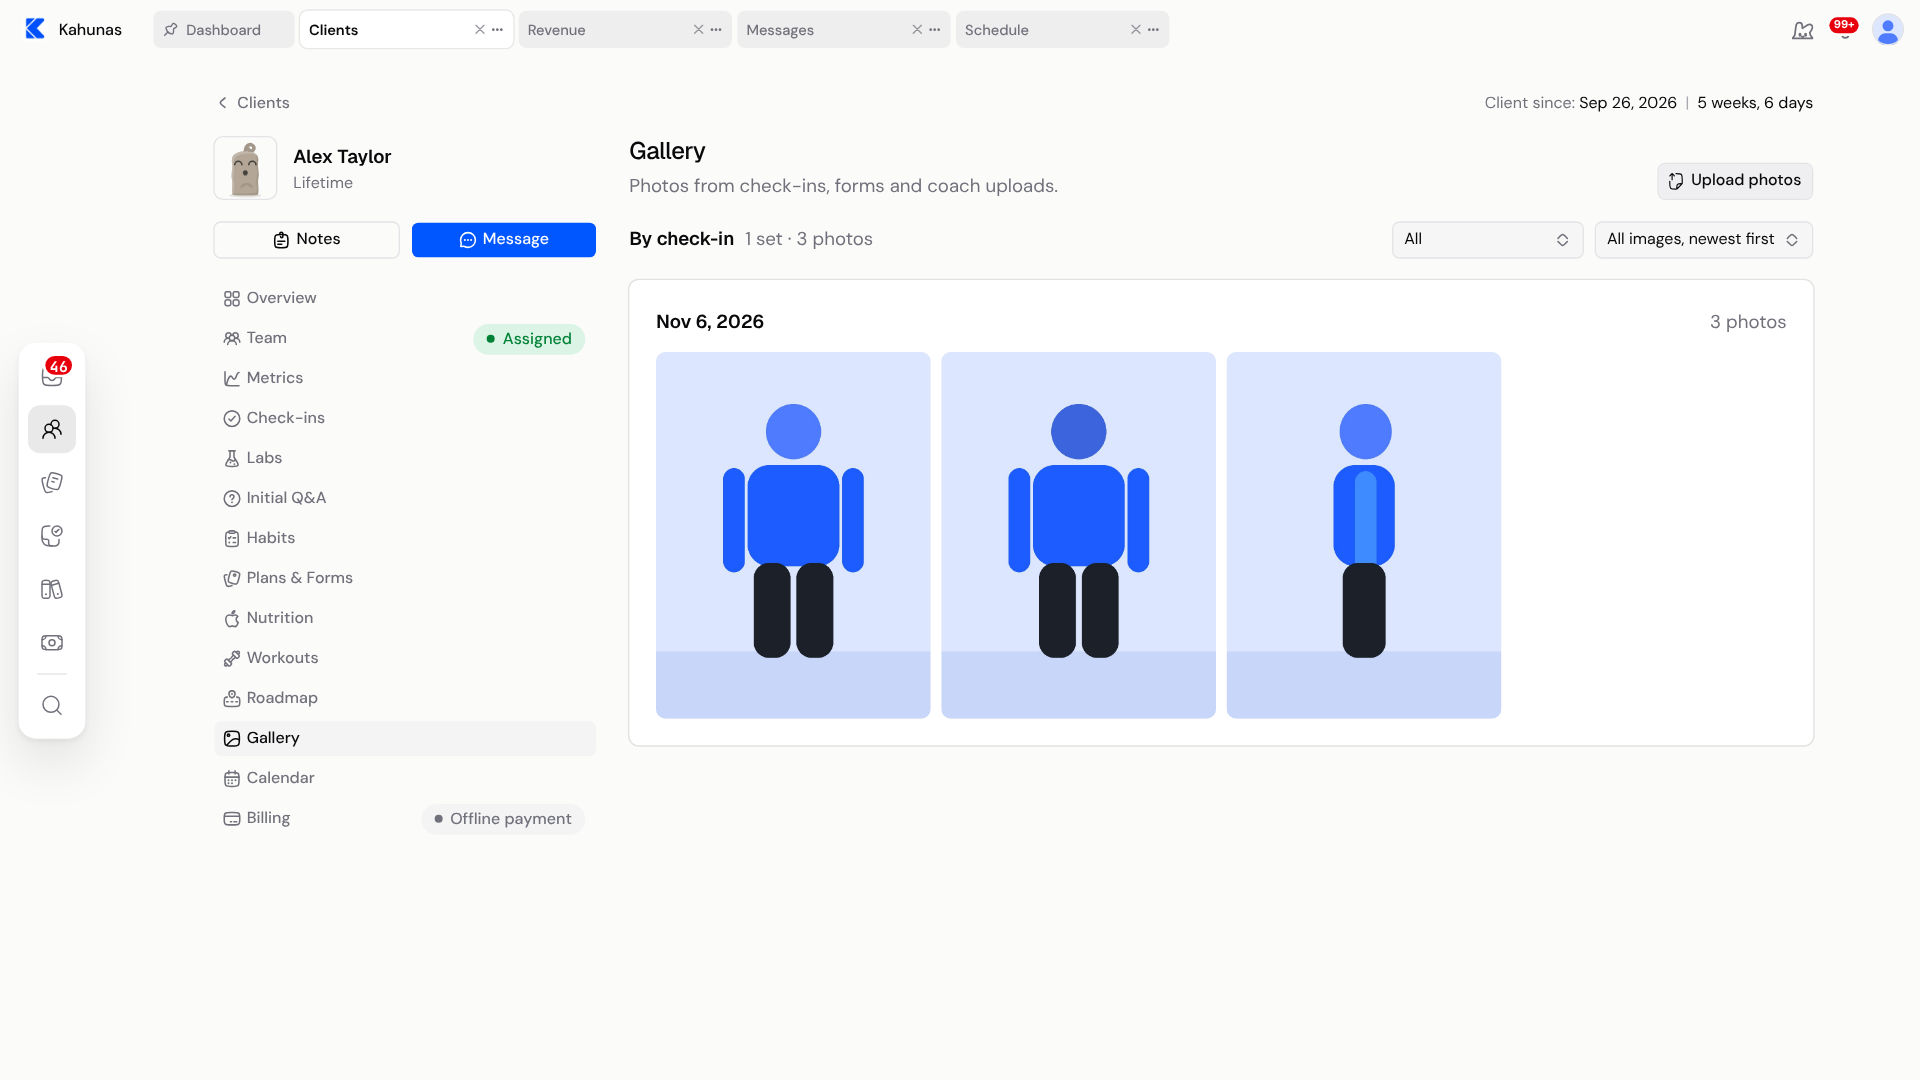
Your uploads use the upload date. They do not create a check-in, even though the Gallery groups photos under By check-in.
Gallery or Add check-in?
Use Gallery → Upload photos when you have photos to add to the client's record.
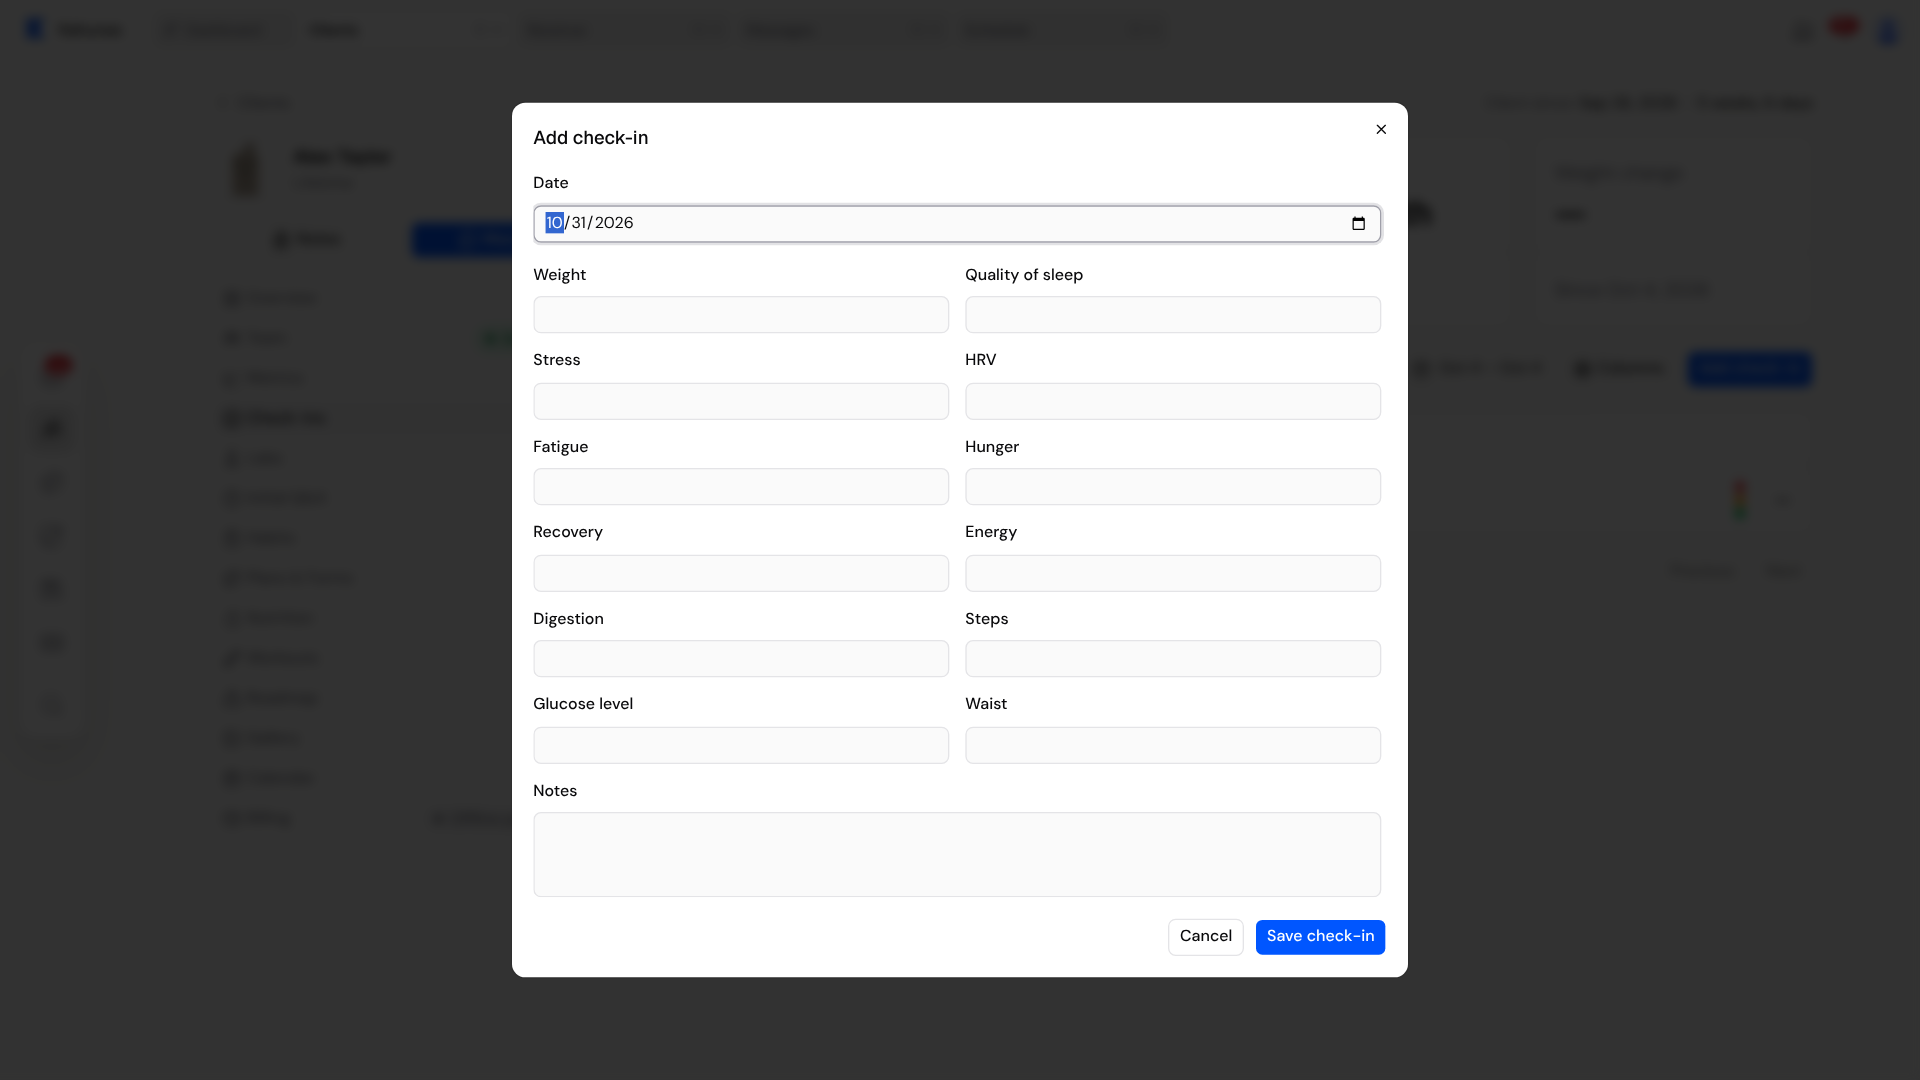
Use Check-ins → Add check-in when you need to record a check-in date, numbers, ratings or notes for the client. The fields depend on their check-in form. Add check-in has no photo attachment control, so it is not another way to upload photos.
If you need the photos to belong to a submitted check-in, ask the client to answer a photo question in their check-in form. See Creating your check-in form for photo questions.
Find, open or download photos
Open the client's Gallery again to find your uploads alongside photos from their check-ins and forms. Choose All in the Date range filter if an older photo is missing. Use the sort menu to put the newest or oldest images first.
Select a photo to open the viewer. Use Previous and Next to move through the set, then close the viewer to return to Gallery.
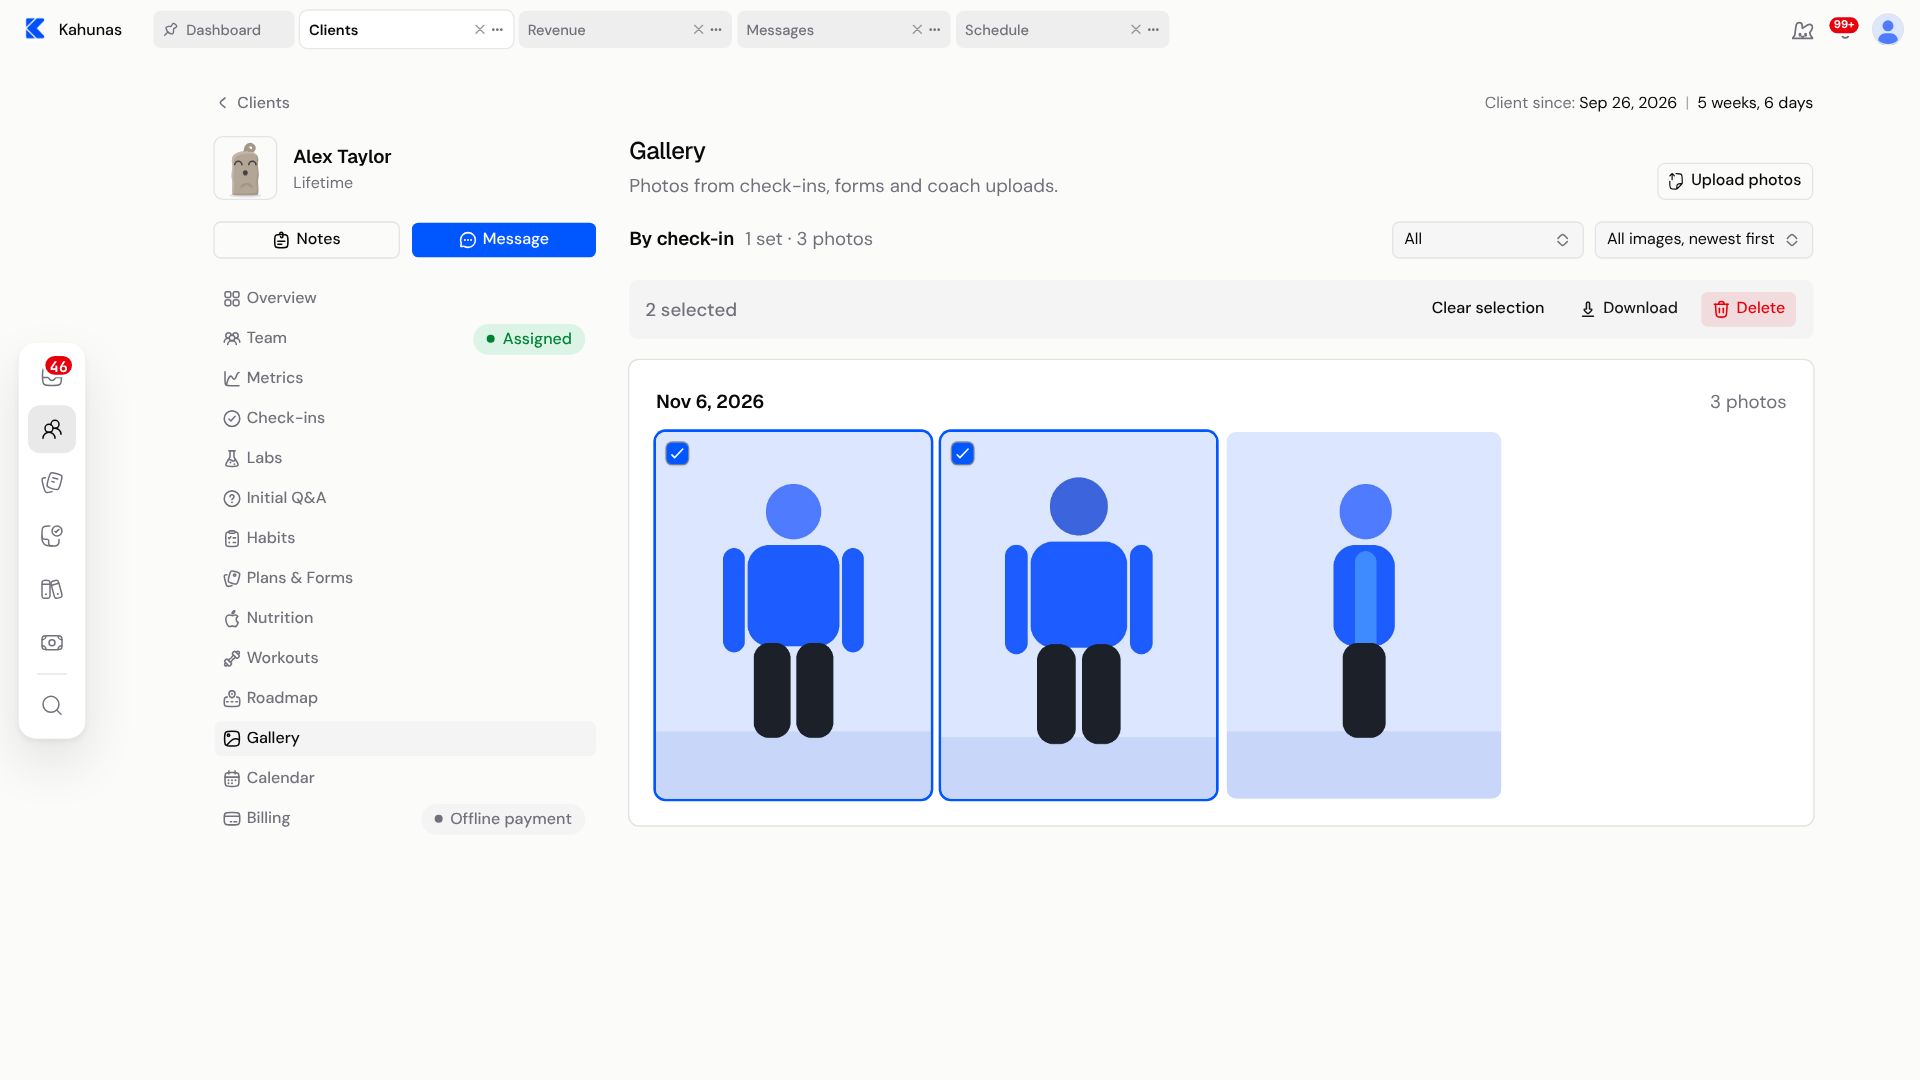
To save copies, select the checkboxes on the photos you need and select Download. Kahunas downloads a zip containing the selected available photos. Clear selection deselects them.
Remove a photo you added by mistake
Select its checkbox and choose Delete. Read Delete selected photos? before confirming: this deletes the selected photos and their files, and you cannot undo it. Select Cancel to keep them.
Take extra care when selecting photos from a check-in. Deleting one from Gallery also removes it from that check-in's photo views.
What does the client see?
Uploading to Gallery adds a photo to the record you review as a coach. It does not add a message to your conversation with the client.
Clients using the newer web app do not have a matching Gallery screen. Do not use this upload as a way to deliver an image to them. To share a photo in your conversation, use Messaging your clients.
If something looks different
| What you see | What to do |
|---|---|
| No gallery images yet | This client has no photos in Gallery. You can still select Upload photos. |
| Upload failed | Check the image format and size, then try that photo again. |
| Photos unavailable when downloading | Refresh Gallery and select the photos again. A file may no longer be available. |
| Download failed | Try again in a moment. |
| Fewer files in the zip than you selected | Kahunas can only include available files in its own storage. A missing or externally hosted photo may be left out. |
Screenshots show the English interface with fictional images. Your dates and available client sections may differ.